WebP files are becoming increasingly common — websites, apps, and image search results all serve WebP by default because it loads faster. But when you download a WebP image on a Mac and try to open it in Photoshop, drop it into a Keynote slide, or send it to a print service, you may find that PNG or JPG is required instead.
This guide covers four ways to convert WebP to PNG on macOS, from the fastest no-install option to built-in system tools that work offline.
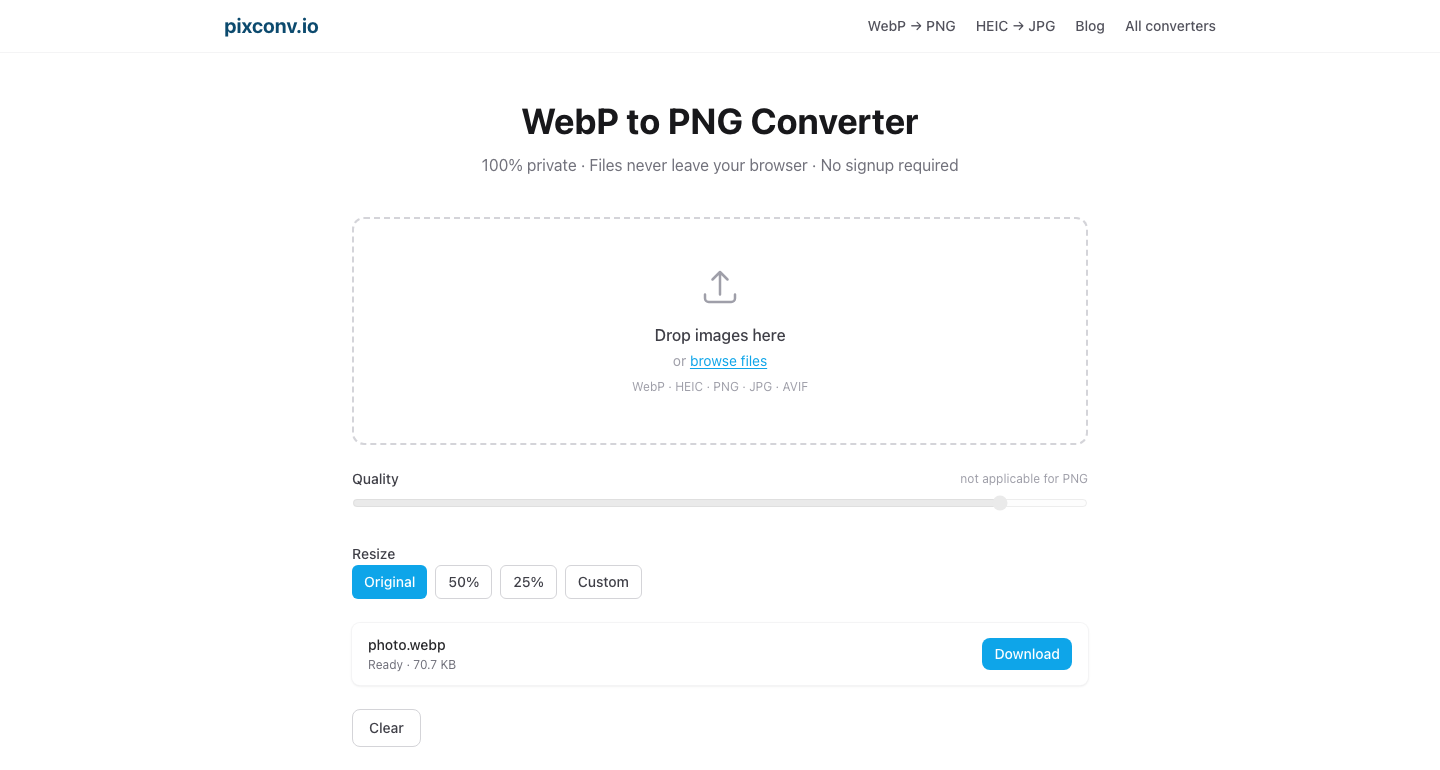
Method 1: Use pixconv.io (Fastest — No Upload, Works in Safari)
The quickest way to convert a WebP file on a Mac is to use a browser-based converter that runs entirely on your machine. pixconv.io/webp-to-png uses your browser’s built-in image engine to convert the file locally — nothing is uploaded.
Steps:
- Open Safari, Chrome, or Firefox on your Mac.
- Go to pixconv.io/webp-to-png.
- Drag your WebP file from Finder into the drop zone on the page.
- The file converts in under a second.
- Click Download to save the PNG to your Downloads folder.
Batch conversion: You can drop multiple WebP files at once. When they all finish, a Download all as ZIP button appears.
This is the best method if you want to convert quickly without touching Terminal or installing Automator scripts.
Method 2: macOS Preview (Built-In, No Internet Required)
macOS Preview is the default image viewer on Mac, and it can open WebP files and export them as PNG. This method works completely offline.
Steps:
- Open the WebP file in Preview. Double-click it, or right-click → Open With → Preview.
- In the menu bar, go to File → Export.
- In the Format dropdown, select PNG.
- Choose a save location and click Save.
Notes:
- Preview supports WebP on macOS Ventura (13) and later. On macOS Monterey (12) and earlier, Preview may not recognize WebP files — use Method 1 instead.
- Preview saves one file at a time. For batches, use Automator (Method 4) or pixconv.io.
- The exported PNG is full-quality and preserves any transparency in the original WebP.
Method 3: Quick Look + Screenshot Workaround
If your Mac can preview the WebP file in Quick Look (press Space in Finder), you can take a screenshot of the preview as a rough-and-ready PNG. This is not ideal for quality-sensitive work but works in a pinch.
Steps:
- Select the WebP file in Finder and press Space to open Quick Look.
- Press Command + Shift + 4, then Space, then click on the Quick Look window.
- A PNG screenshot is saved to your Desktop.
Limitation: The screenshot captures what Quick Look renders on screen, which is scaled to fit the preview window. The output PNG may not be full resolution. Use this only when you need a rough copy and do not have internet access.
Method 4: Automator — Batch Convert a Whole Folder
macOS includes Automator, a workflow automation tool that can batch-convert WebP files to PNG using Quick Look rendering. This is the best option for converting an entire folder of WebP images offline.
Steps:
- Open Automator (search for it in Spotlight).
- Choose New Document → Quick Action.
- In the workflow area, set Workflow receives current to image files in Finder.
- Search for Change Type of Images in the action library on the left and drag it into the workflow.
- Set the type to PNG.
- Save the workflow with a name like “Convert to PNG”.
To use the workflow:
- Select one or more WebP files in Finder.
- Right-click → Quick Actions → Convert to PNG (the name you gave the workflow).
- Automator converts the files in place (the PNG is saved in the same folder as the original).
Note: The “Change Type of Images” Automator action uses the same Quick Look engine as Preview. On macOS 12 and earlier this may not recognize WebP. On macOS 13+ it works reliably.
Which Method Should You Use?
| Situation | Recommended method |
|---|---|
| Converting 1–10 files quickly | pixconv.io |
| Single file, offline | macOS Preview |
| Batch conversion, offline | Automator |
| Rough copy, no tools available | Quick Look screenshot |
| Large batch (100+ files) | pixconv.io batch |
Why Your Mac Might Struggle with WebP
WebP support was added to Apple’s ecosystem incrementally:
- Safari gained WebP support in version 14 (2020).
- macOS Preview started recognizing WebP in macOS Ventura (2022).
- iOS Photos can view WebP files but exports them as HEIC or JPEG.
- Older macOS versions (Catalina, Big Sur, Monterey) have limited or no native WebP support in most apps.
If you are on macOS 12 (Monterey) or earlier, Methods 2 and 4 may not work. Method 1 (pixconv.io in a modern browser) is the most reliable cross-version solution.
Preserving Transparency When Converting
If your WebP file has a transparent background (a logo, icon, or cutout image), converting to PNG correctly preserves the transparency. PNG fully supports alpha channels — transparent areas stay transparent in the output file.
JPEG does not support transparency. If you need a JPEG, the transparent areas are filled with white. For designs where transparency matters, always use PNG as the output format.
Frequently Asked Questions
Can I convert WebP to PNG using Terminal on Mac?
Yes. If you have Homebrew installed, you can use ffmpeg or ImageMagick’s convert command:
# With ffmpeg
ffmpeg -i input.webp output.png

# With ImageMagick
convert input.webp output.png
For batch conversion in Terminal:
for f in *.webp; do ffmpeg -i "$f" "${f%.webp}.png"; doneThis is the fastest method for large volumes but requires installing additional software via Homebrew.
Does converting WebP to PNG reduce quality?
No, as long as the original WebP was lossless. PNG is a lossless format, so the conversion itself introduces no additional quality loss. If the source WebP was lossy-compressed, the PNG output captures exactly what the WebP displays — no further degradation.
What if Preview says it cannot open the file?
The file may be a genuine WebP from a website, or it might have been renamed with a .webp extension when it is actually a JPEG or PNG in disguise. Try opening it with a browser first. If it displays correctly in the browser, the file is a valid WebP — your version of macOS Preview likely does not support WebP. Use pixconv.io instead.